Cottagecore DIYs that are timeless and relaxing
There's never been a better time to take up embroidery
April 1, 2021 12:07 p.m. EST
April 1, 2021 12:07 p.m. EST

Cottagecore projects are bigger than ever right now; the overall aesthetic is simplicity, harmony with nature and a little bit of nostalgia. You might have some extra time on your hands these days, so what better chance to bring the cottagecore trend in to your home with some crafting? DIY expert Erin Rochon has got you covered with three amazing craft ideas you can do at home!
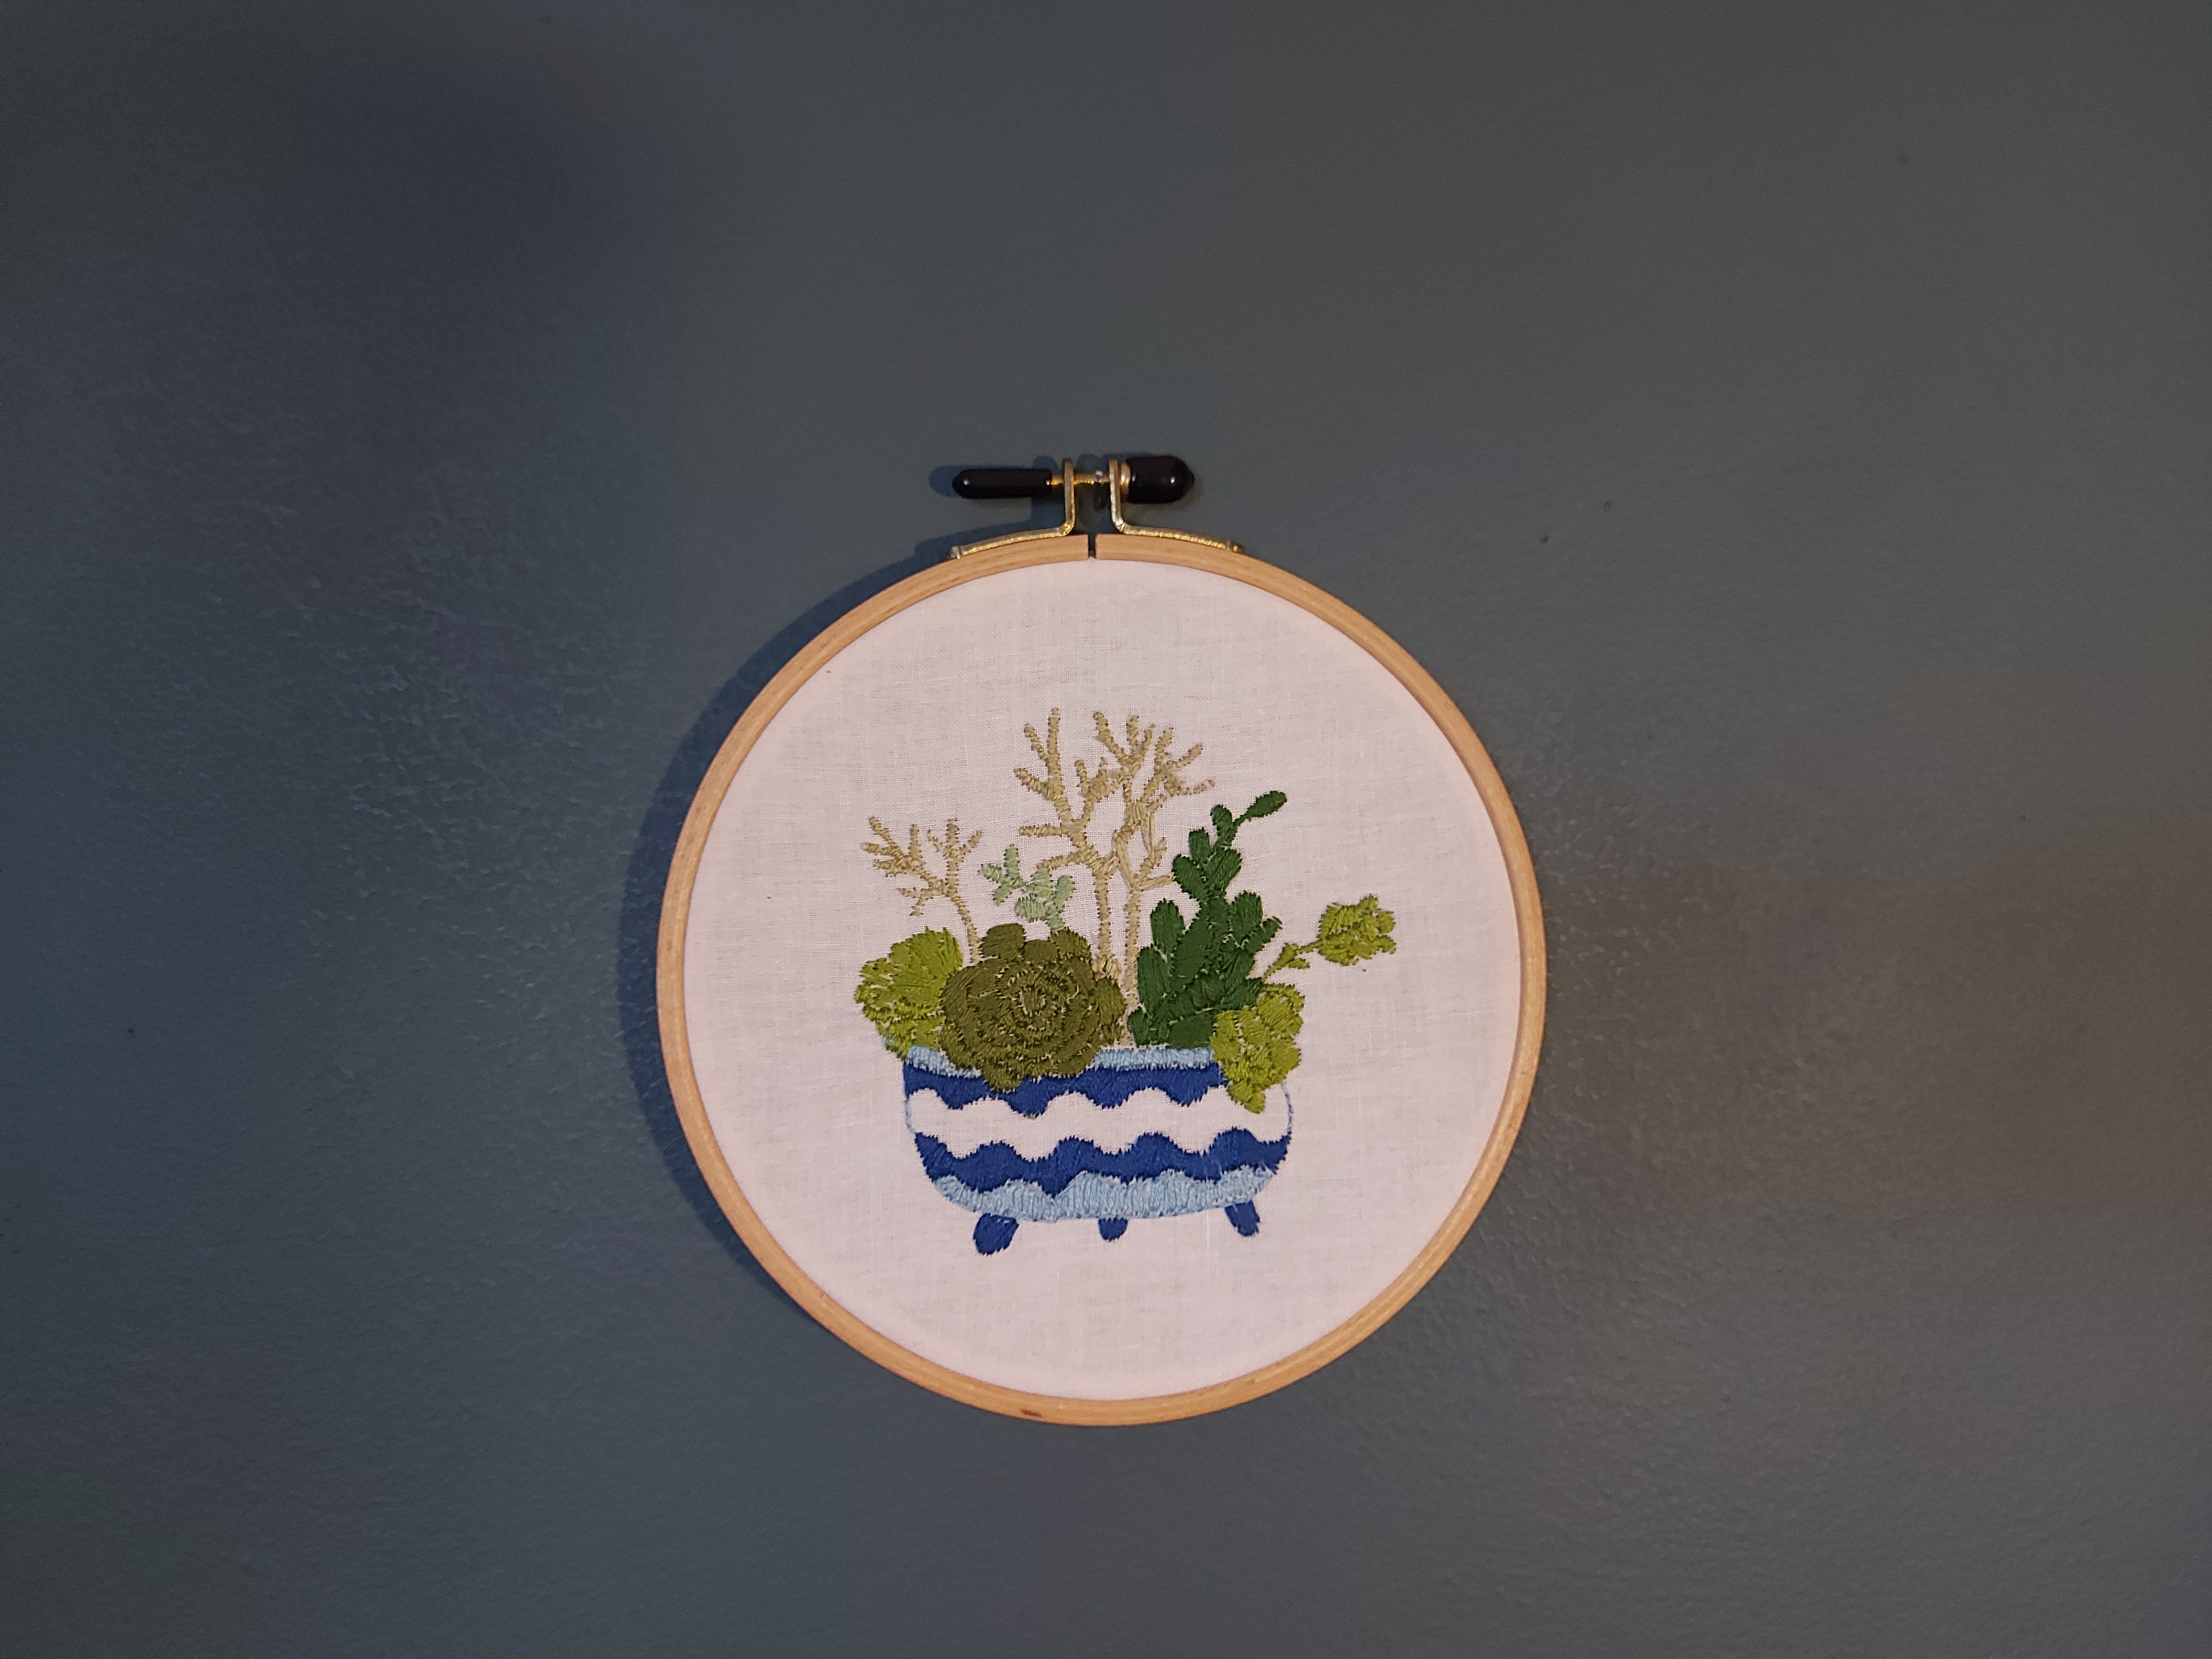
Embroidery

Materials
- 6" wooden embroidery hoop
- embroidery iron on transfer
- stiff cotton fabric or an old dress shirt
- various colours of embroidery floss
- embroidery needles
- fabric scissors
Directions
- Iron your fabric to remove any wrinkles. Make sure your iron is hot and carefully iron your transfer onto the fabric. You can also freehand your pattern with a pencil.
- Open up your hoop by unscrewing it until the front and back hoops have separated. Place your fabric or shirt with the transfer centred in the middle of the hoops. Then tighten the screw to keep the fabric in place and taut.
- Thread your needle with your chosen colour of floss and tie a knot at the ends.
- A satin stitch is one of the easier stitches to fill in patterns. Start by bringing your needle up through the bottom of the hoop in the middle of the pattern outline and push it up through the outline. Re-insert your needle directly across on the outline, pulling the thread through.
- Start the next stitch right beside the first to avoid any gaps in your stitching. Continue stitching from the middle working out to the sides.
- Knot the ends of the floss on the underside of the hoop once you only have a few inches left.
- Once you have finished your embroidery pattern cut the excess fabric, leaving a small amount flip it under the hoop. Glue it into place if necessary.
Flower Wall Hanging
.jpg)
Materials
- stick or wooden dowel
- jute rope
- several artificial flowers in various colours
- flower or jute tape
- pliers
- glue gun
Directions
- Cut a long piece of jute rope and tie a knot a few inches from each end of the stick, this will allow you to hang it on a wall. Length of rope will depend on the size of the stick.
- Hang your stick on a wall.
- Cut approximately 3 to 4 feet of rope (depending on how long you want it to hang). Tie the rope to your stick.
- Continue cutting and attaching pieces of rope to fill your stick.
- Using your pliers cut your artificial flowers down to your desired size and separate them.
- Take a flower, turn it upside down, place it on your rope and use tape to secure the flower to the rope. You can also use a small amount of glue to help keep it in place. Continue taping flowers on the rope.
- Continue adding flowers to the other ropes making sure to fill in any gaps.
- Find a great spot to hang your flower wall hanging.
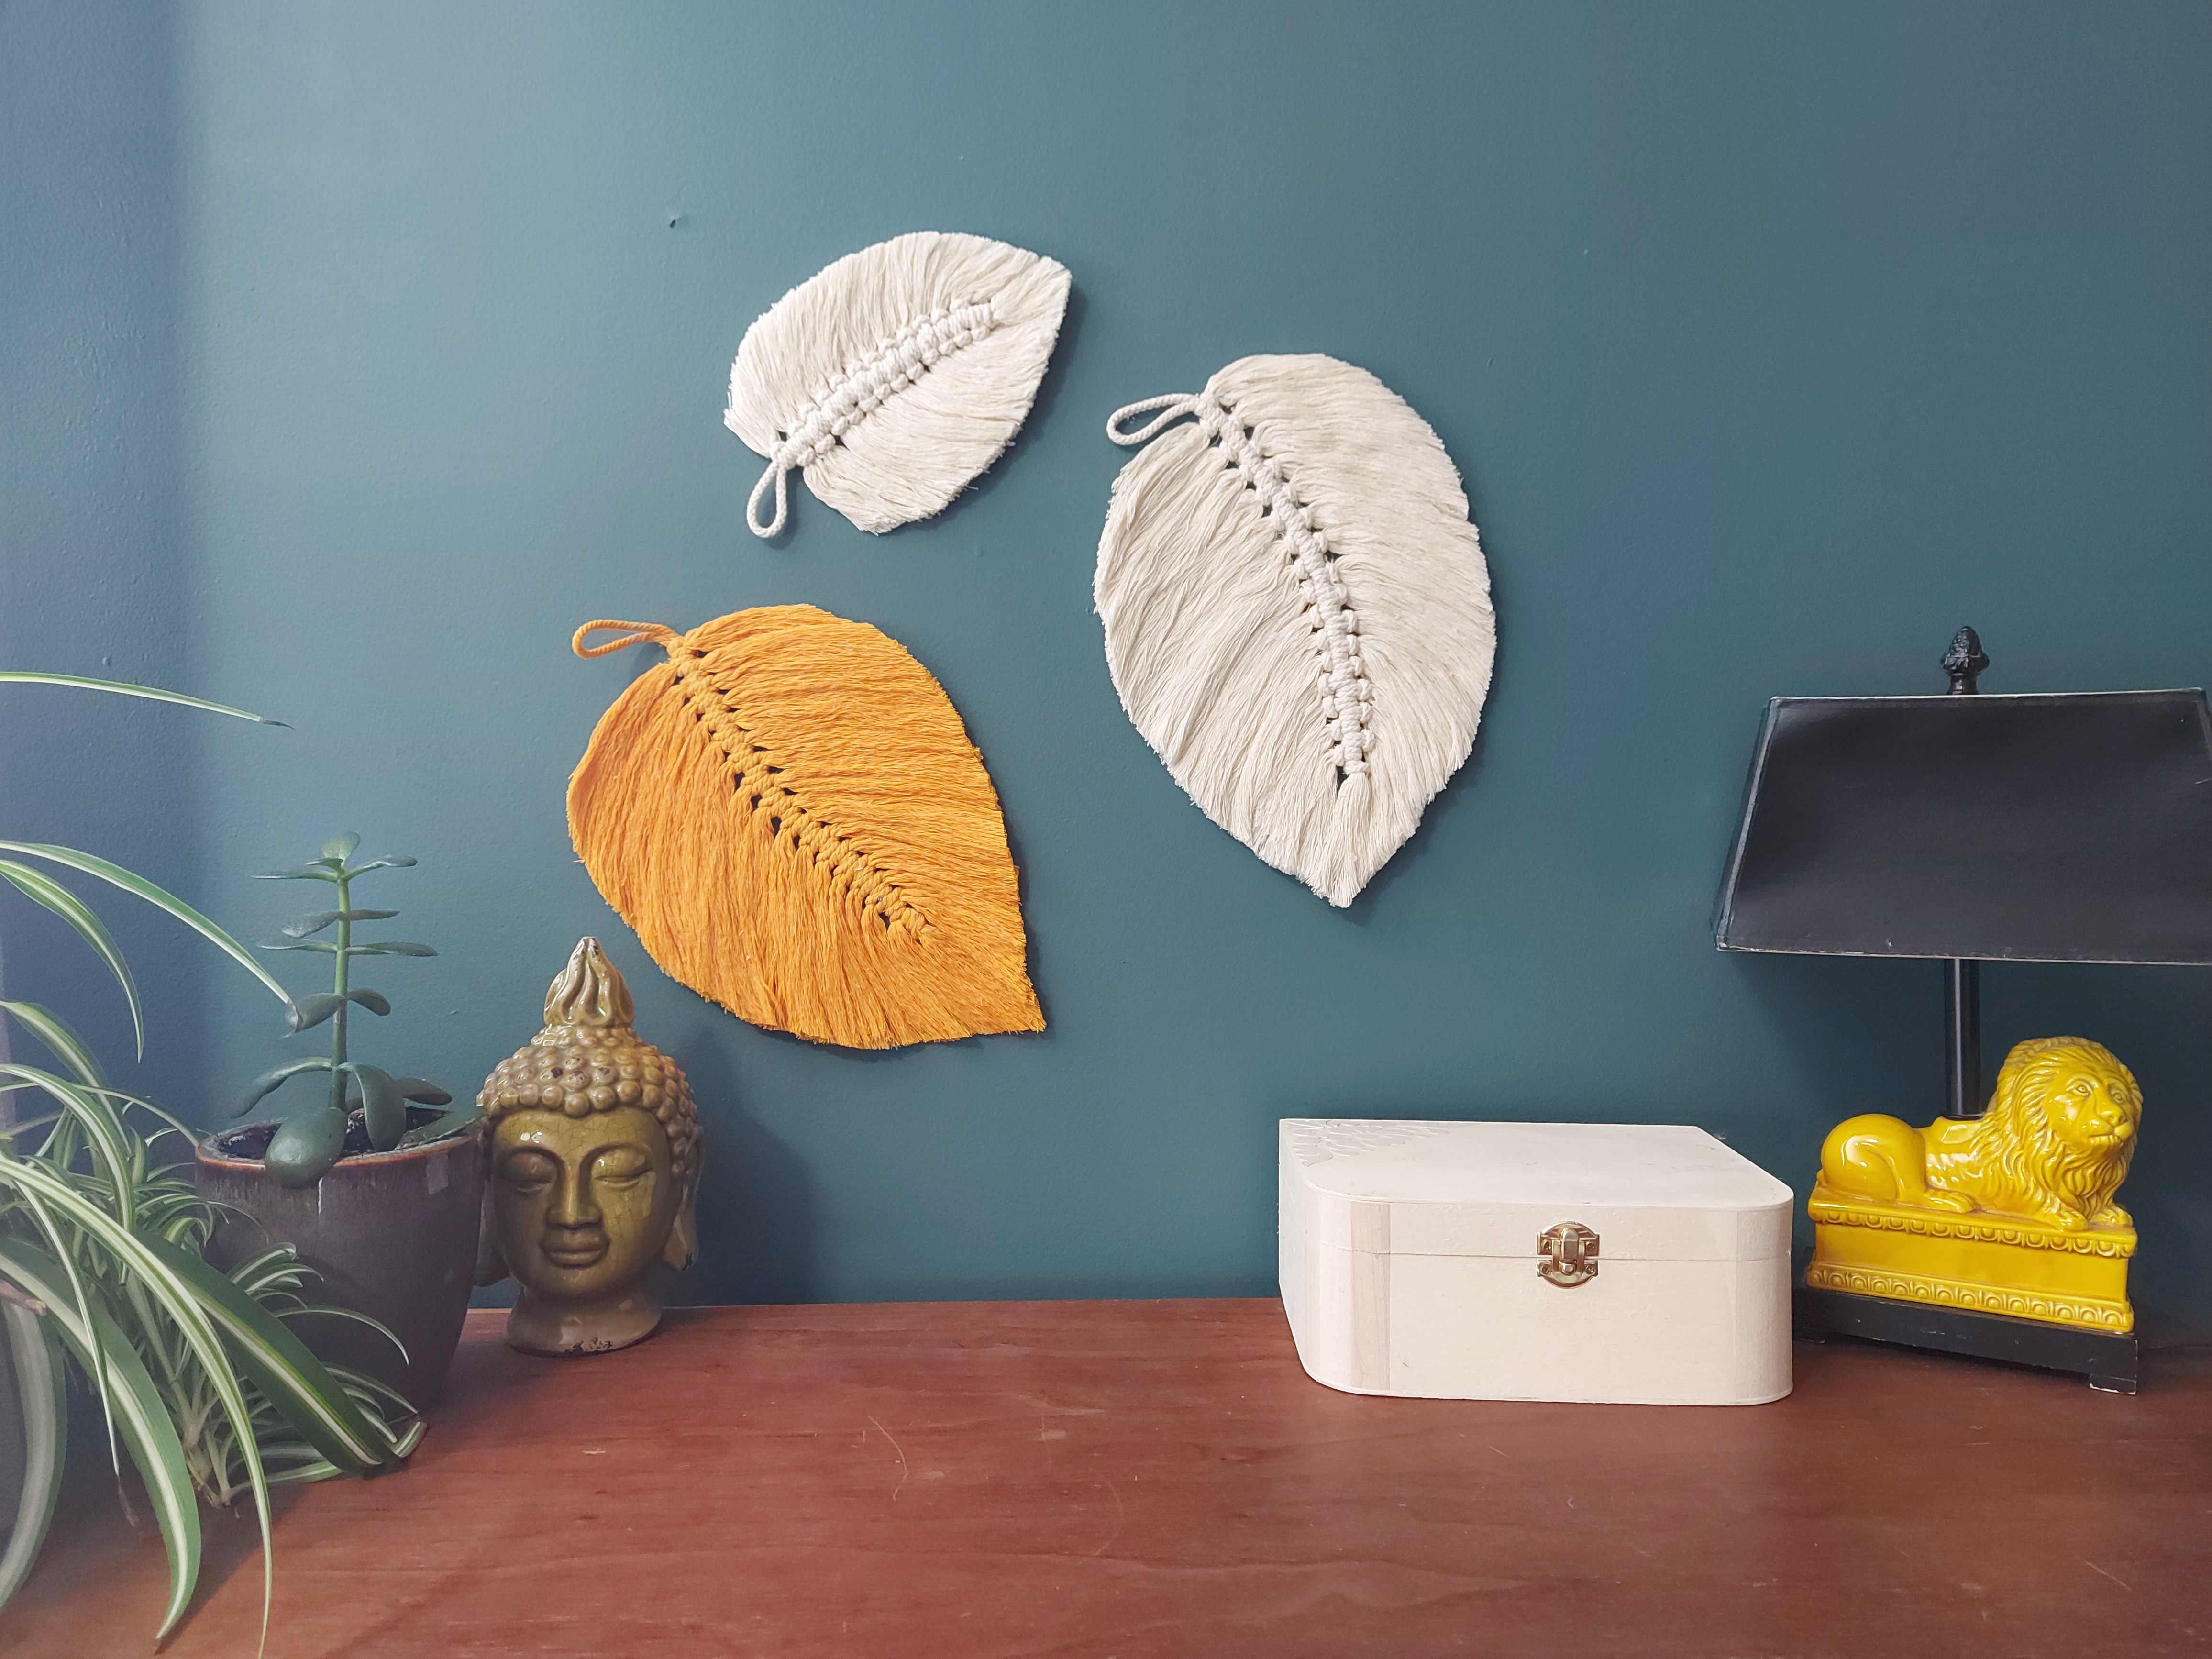
Macrame Leaves

Materials
- 4mm Macrame cord in two different colours to make two large and one small leaf
- Fabric stiffener spray
- plastic drop cloth
- dog or cat brush, stiff brush and a comb
- fabric scissors
- cardboard or something to protect your table when brushing the macrame
Directions
- For the 1 large leaf, cut one macrame cord to 32" for the spine, and cut 12x 14", 10x 12", 8x 10" cord for the body of the leaf. For 1 small leaf, cord measurements are: 1x 20" for the spine, 10x 10", 8x 8", 6x 6" threads for the body.
- Starting with your large leaf cords, take your 32" spine and fold it evenly in half and place it on your table.
- Take one of the 14" macrame cord, fold it in half and place under the spine roughly 2" down the spine loop.
- Take the ends of the 14" cord and thread them through the loop (on the other side of the spine), making a lark’s head knot around the spine. Pull it tight. Make sure the raised knot is sitting beside the spine
- Take another 14" cord, fold it in half and place it under the spine on the opposite side of your first cord, and repeat step 3.
- Take another 14" cord, fold it in half and place it under the spine on the opposite side of your first cord, and repeat step 4. Continue to knot all of your 14" macrame cords on alternating sides of the spine.
- Continue adding 12" and 10" cords on alternating sides until all your cords are attached. Holding the top loop of your spine, push the knots up towards the top making sure they're snug without any spaces in between, while maintaining the 2 inch loop at the top of the spine.
- Tie off the end of your spine by making a simple loop knot with the two spine cords just below your last 10” cord. This will keep your knots in place.
- Place a piece of cardboard or hard plastic underneath your leaf. Using either a dog brush or a stiff comb, start brushing out the ends of the cords. Brush the ends first and slowly move towards the spine. This will take a few minutes.
- Using fabric or sharp scissors give your leaf a slight trim.
- Place your brushed leaf on your plastic sheet. You can curve the spine or keep it straight. Spray your fabric stiffener on your leaf. Once dry, apply a second coat.
- Once the fabric stiffener has dried, trim to shape it into a leaf. Once you have achieved the desired shape, spray with stiffening spray.
- Follow the same steps to complete the other large leaf and the small leaf (always starting with the longest threads). Find a spot to hang them on your wall, and use double sided tape if needed to keep it flat against your wall.
- Follow the same steps to complete your other large leaf and the small leaf. You can use small finishing nails to hang them on your wall, and use double sided tape if needed to keep it flat against your wall. Or hang them from a dowel or branch as a wall hanging.


