Recipes by Colin Asuncion. Follow him on TikTok and YouTube.

Santa’s Spicy Bottom Cupcakes
Makes 18 - 24 cupcakes
Ingredients
Cake batter:
- 2 ¼ cups all-purpose flour
- 1 tbsp baking powder
- ½ tsp salt
- 1 tsp ground cardamom
- 1 tsp ground cinnamon
- 1 tsp ground ginger
- ¼ tsp ground nutmeg
- ¼ tsp ground cloves
- 3 eggs, room temperature
- 1 ¾ cups sugar
- 1 tsp vanilla extract
- ½ cup + 2 tablespoons canola oil
- 1 cup warm whole milk
- Nonstick cooking spray
Frosting and decoration:
- 3 cups unsalted butter
- 5 3/4 cups icing Sugar
- 170g pasteurized egg whites
- 1 tsp vanilla extract
- Pinch of salt
- Red gel food colouring
- 1 cup black fondant
- 1 cup red sanding sugar
Directions
- Preheat oven to 350℉. Set oven rack to middle position. Line cupcake pans with paper liners. Roll up small balls of aluminum foil and place one in each well, outside of the paper liner. Instead of lining the well perfectly, each liner should now form a somewhat curved shape in each well.
- Whisk together flour, baking powder, salt, and spices in a bowl and set aside.
- In the bowl of a stand mixer fitted with the whisk attachment, or a large mixing bowl with a hand mixer, blend together eggs, vanilla, and sugar on high for 5 minutes.
- Drizzle in oil and continue to mix on high for 5 more minutes
- Bring your mixer down to low. Add dry ingredients and warm milk in instalments, starting with one third of the dry ingredients, half the milk, another third of the dry ingredients, the second half of the milk, then the final third of the dry ingredients.
- Add batter to prepared cupcake liners until each is ⅔ full.
- Bake for 15-17 minutes or until a toothpick inserted into the centre of a cupcake comes out clean.
- Remove cakes from oven and cool on a rack for 15 mins before unmoulding. Let cool completely once unmoulded.
- Make frosting: In a stand mixer fitted with a whisk attachment, beat pasteurized egg whites and powdered sugar for about 5 minutes, until shiny and fluffy.
- Add vanilla extract and salt. Beat briefly to combine.
- With the mixer on medium speed, gradually add cubed, room-temperature butter, making sure each piece is fully incorporated before adding the next.
- Increase the speed to high and whip for 10 - 15 minutes, pausing occasionally to prevent the mixer from overheating. The buttercream is ready when it’s white, glossy, and no longer tastes like butter.
- Separate frosting into two separate bowls, and add red food colouring to one portion until it is your desired colour for Santa’s pants. Leave the other portion of frosting white.
- First pipe red food frosting onto each cupcake in the shape of an inverted heart. Smooth this with a knife or palette knife and then dip the entire frosting side of the cupcake in red sanding sugar. Pipe a border of white frosting on the top edge of the cupcake - this is Santa’s waistband. Then pipe two dollops of white frosting on the bottom edge of the cupcake - these are Santa’s ankles.
- Roll small balls of black fondant and sculpt them to look like the soles of shoes. Place these on top of the white dollops of frosting to form Santa’s feet. And voila - you have Santa’s bottom cupcakes!

Date and Nut Pinecones
Ingredients
- 10-12 medjool dates
- 1 - 1 ½ cups chopped biscoff cookies or gingersnap cookies
- 1 - 2 tablespoons maple syrup
- 1/2 cup cocoa powder, divided
- Pinch sea salt
- 2 cups raw sliced almonds
- Nonstick cooking spray
- Icing sugar (optional)
Directions
- Preheat your oven to 350 degrees. Spread your almond slices on a parchment lined baking sheet and place in the oven to toast for 6 - 8 minutes until they are golden brown. Remove from the oven to cool.
- Soak your dates in hot water for 10 minutes and then drain, reserving the date water.
- Place dates, biscoff cookies, 1 tablespoon maple syrup, ¼ cup cocoa powder, and salt in a food processor and blend until a smooth dough forms. If it is too loose or wet, you can add more cocoa powder and/or biscoff cookies. If it is too dry, add some of the reserved date water.
- Coat your hands in nonstick cooking spray or oil. Scoop out walnut-sized spoonfuls of the dough and roll them between your hands to form balls. Optional: roll these balls in cocoa powder to make the surface easier to work with. Place the balls on a dish or baking sheet.
- Insert your toasted sliced almonds into the balls with the pointed ends of the almonds sticking outwards, starting with a ring at the bottom and moving towards the top of the ball until it resembles a pinecone. Optional: dust in icing sugar for a snowy look.

Amaretti Wreaths
Ingredients
- 2 ½ cups almond flour
- Pinch of salt
- 1 cup powdered sugar, more for topping
- 3 egg whites, large eggs
- Finely grated zest of 1 lemon or orange (optional)
- 1 teaspoon almond extract (optional)
- Green gel food colouring
- Green sanding sugar for decoration (optional)
Directions
- Preheat the oven to 325°F and line a large baking sheet with parchment.
- In a large bowl, whisk (or sift) together the almond flour and sugar. Add lemon zest and salt and whisk again to remove any lumps.In a separate bowl, beat the egg whites to soft peaks, then whisk in the almond extract and green food colouring.
- Gently fold the egg whites into the dry ingredients until the dough is fully moistened. Do not overmix.
- Transfer the batter to a piping bag fitted with a star piping tip and pipe 3 inch diameter rings onto the prepared baking sheet. Sprinkle the tops with green sanding sugar for extra sparkle. Bake for 15 minutes, until lightly golden. Cool on a rack.
- Store in an airtight container at room temperature for up to 1 week.

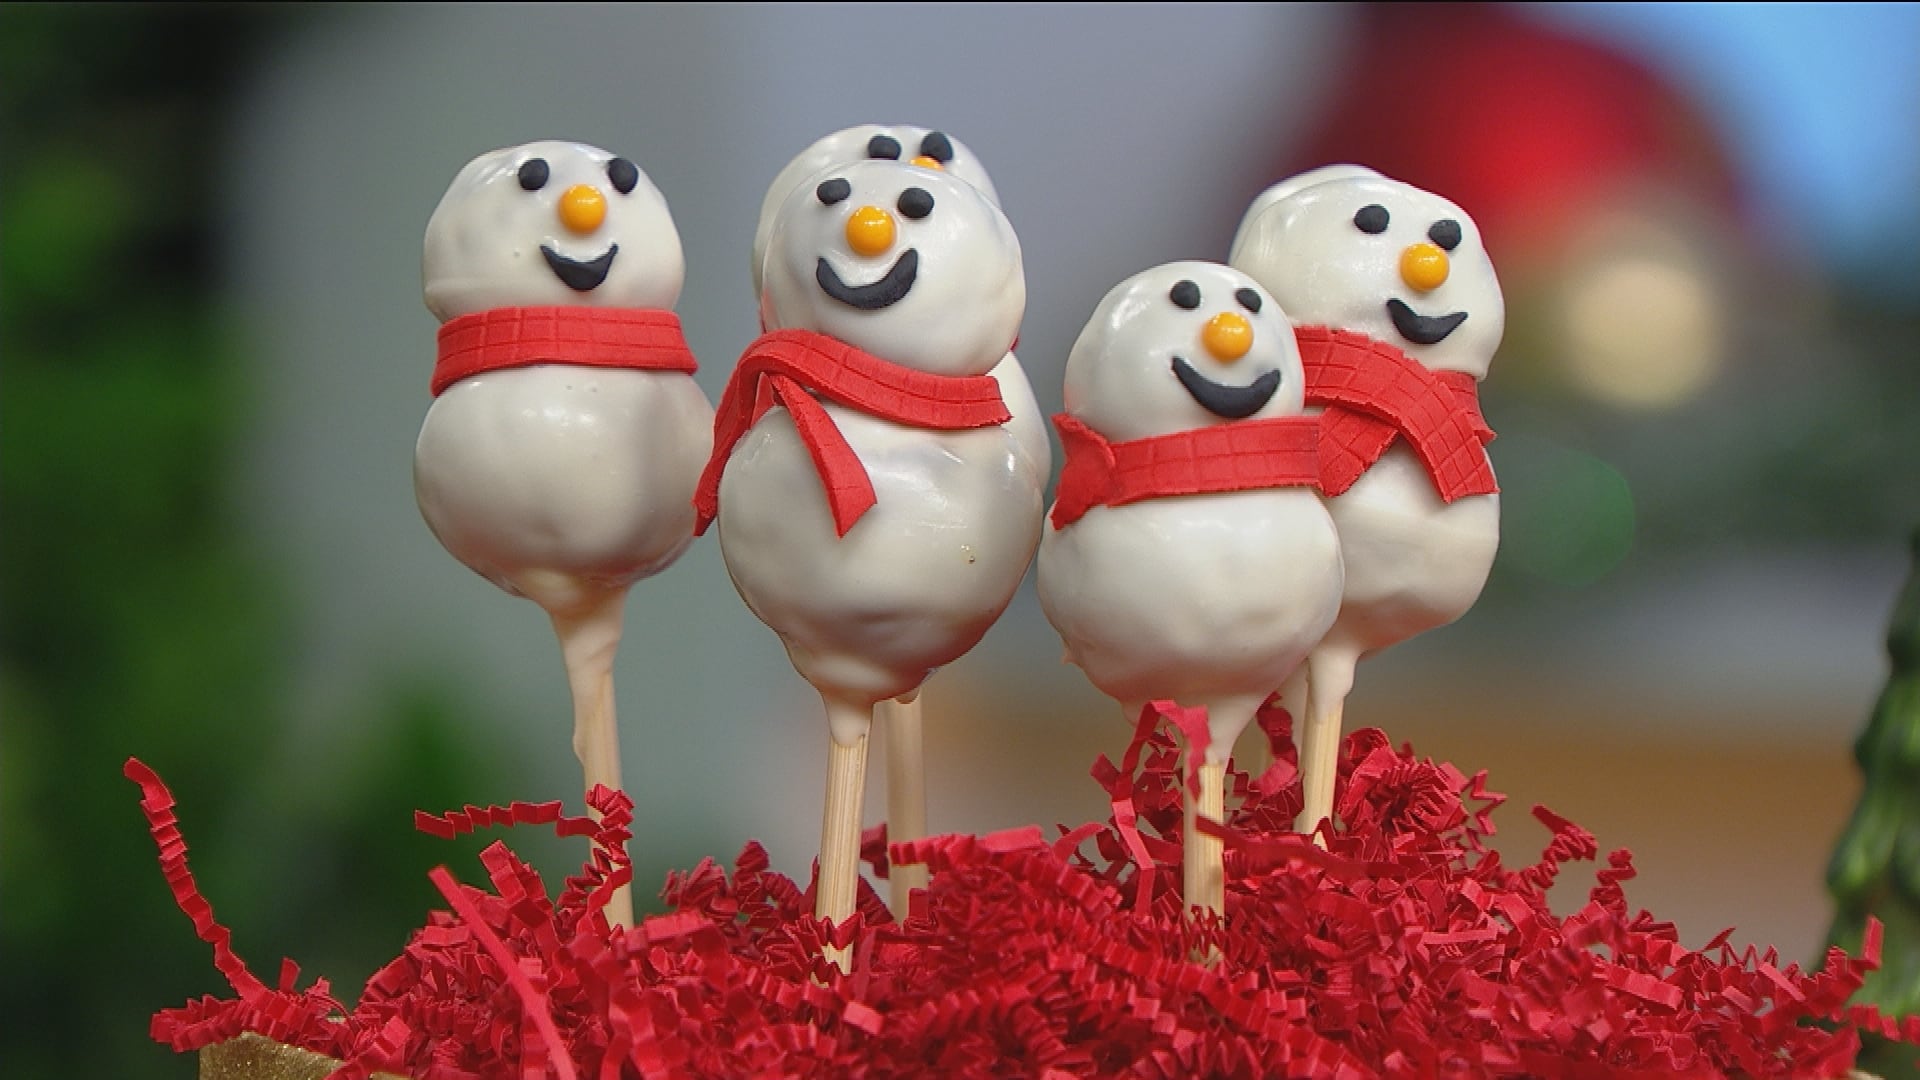
Snowman Cake Pops
Ingredients
- 1 store bought or homemade cake, any flavour, unfrosted
- 1 - 2 cups frosting, store bought or homemade, any flavour
- 20 ounces candy melts or chocolate melting wafers
- Sprinkles, mini chocolate chips, candy, and other decorations
- Extra long lollipop sticks or chopsticks
Directions
- Crumble cake into a large bowl. Mix in 1 cup frosting with a spoon or mixer on low speed until it resembles wet sand. Add more frosting if it looks too dry.
- Scoop large heaping tablespoon portions, and slightly smaller tablespoon portions. Roll these into balls and place on a parchment-lined plate. Refrigerate for at least 4 hours, or speed things up by freezing for about 30 minutes. Chilling is important—it helps the pops hold their shape when dipped.
- Melt candy melts or chocolate wafers in a microwave or double boiler, following the package directions.
- Transfer the melted coating into a tall drinking glass.
- Keep most of the chilled cake balls in the fridge while you work, pulling out only a few at a time.
- Dip the tip of a lollipop stick or chopstick into the melted coating, about the height of two cake balls, then insert it into a large cake ball, and then a small cake ball so they are stacked like a snowman. Don’t let the stick poke out of the second cake ball. Return to the refrigerator to chill. Continue with all of the cake balls.
- Working one at a time, carefully dip the stacked cake balls into the melted coating, making sure to cover the seam where the cake and stick meet. Rotate gently to coat evenly.
- Lift the coated cake balls out of the glass and tap the stick lightly against the side to let excess coating drip off.
- While the coating is still wet, quickly decorate with sprinkles, candy, or anything else to bring your snowman to life. Set aside to cool, standing up. A block of styrofoam or floral foam works great for this.

Meringue Christmas Trees
Ingredients
- 6 egg whites
- 2 cups granulated sugar
- ½ tsp vanilla
- Pinch of salt
- Green gel food colouring
Directions
- Preheat oven to 200 degrees F.
- Gently whisk together egg whites and sugar in the bowl of a stand mixer.
- Place the bowl over a pot of simmering water. The water should be shallow enough that it doesn’t touch the bottom of the stand mixer bowl.
- Whisk the egg white sugar mixture over the steam until the sugar is dissolved and the temperature reaches 160 degrees F.
- Remove from the heat and place the bowl in the stand mixer. Using the whisk attachment, whisk on high until stiff peaks form and the meringue mixture has come to room temperature. Add in vanilla and salt and whisk again until fully incorporated.
- Add green gel food colouring to the meringue mixture and mix again.
- Fit a piping bag with a star tip and paint vertical stripes of additional food colouring inside the piping bag. Fill the bag with your meringue mixture.
- Pipe meringue onto a parchment lined baking sheet. To create the tree shapes, pipe one thick rosette, and then a smaller rosette on top. Continue until you have used all your meringue.
- Bake for 90 mins to 2 hours, or until completely dry to the touch. Meringue kisses should come off the parchment easily. If they stick to the parchment, keep baking them.
- Remove from the oven and let cool completely.