Follow Rachel on Instagram, Tiktok, and Youtube
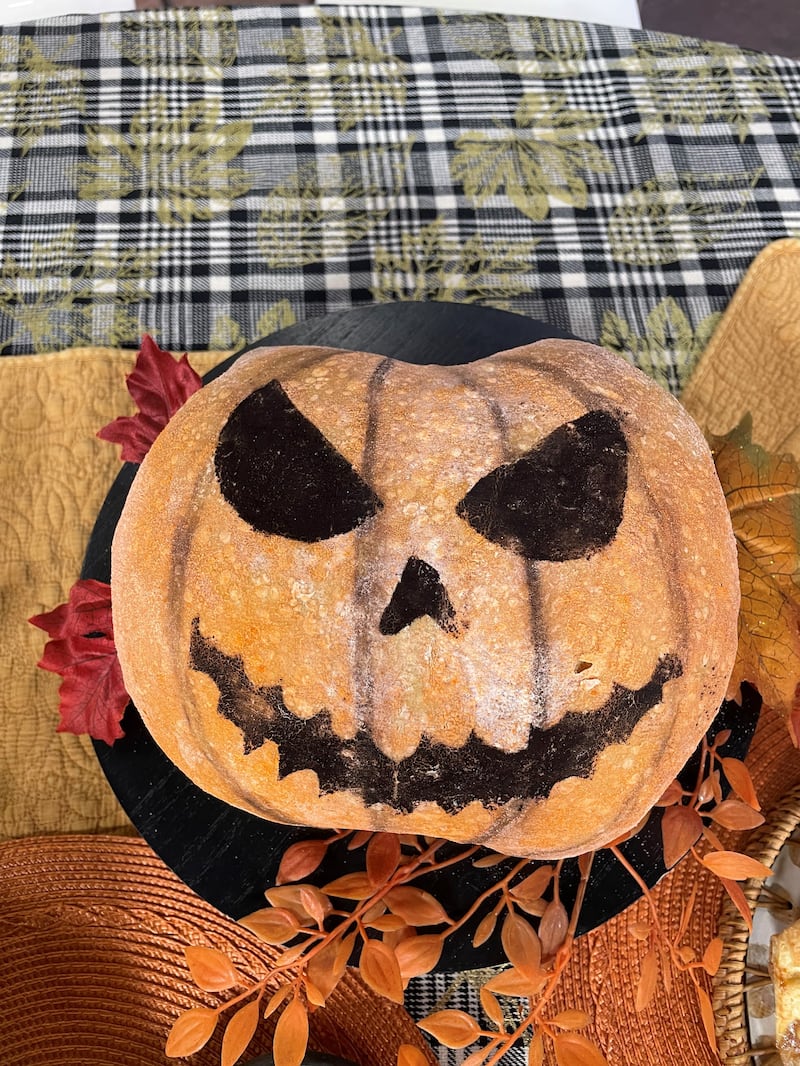
Sourdough Enzo Master Loaf
While many bakers profess the complexity of making sourdough bread, it can be as simple or as challenging as you want it to be. For me, making sourdough has grown into so much more than just baking—it’s a passion, a creative outlet, and a form of therapy. There’s comfort and peace in the slow process, and then deep satisfaction in pulling a warm loaf from the oven that you created with time and care.
This is the recipe I have returned to for several years—the one that helped me understand the nuances of certain practices like autolyse, slap-and-fold, and lamination (all methods of developing gluten; see chapter 2 Gluten Development, Proofing, and Shaping for explanations of each). However, if your bread flour has a protein content of 12.5 percent or higher, you can avoid these added (and slightly more complex) steps and still achieve a beautiful loaf.
This is my master recipe—a straightforward, medium-hydration loaf made with a 100%-hydration peaked sourdough starter and a blend of flours that bring both strength and flavor to the dough. (See Making Your Own Sourdough Starter on page 16.)
Ingredients
- 720g room-temperature tap water
- 200g active 100%-hydration sourdough starter
- 20g sea salt
- 850g white bread flour
- 150g einkorn, spelt, or whole wheat flour
Special Equipment
- Dutch oven / bread cloche (I use a Fourneau Grande)
- Banneton (optional)
- Bread lame (optional)
Directions
Make and proof the dough (30 minutes active, 4–10 hours bulk proof at room temperature)
- To a large mixing bowl, add the water and starter. Mix well with a fork until fully combined.
- Add the salt and stir to combine.
- Add the flours and mix by hand or with a dough whisk until you have a shaggy dough. Cover with plastic wrap or a reusable bowl cover and let the dough rest for 30 to 45 minutes.
- After the allotted time has passed, wet your hands with water and perform a stretch-and-fold (p. 34). Cover and let the dough rest for 30 to 45 minutes.
- After the allotted time has passed, wet your hands again and perform your first coil fold (p. 35). Cover and let the dough rest for 45 to 60 minutes.
- Perform three more coil folds as above with 45- to 60-minute intervals in between each fold, covering the dough each time. (Once you have completed the final coil fold, the dough will feel tight, will not stretch as easily, nor will it break when you do the coil fold.)
- Allow the dough to rest, covered, until it has almost doubled in size. (Note that the amount of time it will take for the dough to almost double in size will vary depending on a number of factors, but primarily the ambient room temperature of your kitchen. If it is cooler in your home, say 64°F to 66°F (18°C to 19°C), it could take as long as an additional 6 hours to reach this point; if it is warmer 75°F to 77°F (24°C to 25°C), it may only take an additional 2 or 3 hours!)
Shape the dough (5 minutes active, 60–90 minutes rest, overnight cold proof)
- Pour the dough out onto a lightly floured surface. To start preshaping the dough, divide the dough into two equal-size pieces using a bench scraper. Use wet fingers to knock back the larger air bubbles by lightly pressing into the dough. (This helps to redistribute the air throughout the dough for a more even crumb.) Pull the edges of the dough into the middle to create a ball, then flip the dough smooth-side up and use the surface of the counter to create tension on the dough by pulling it toward you. Let the dough rest uncovered on the counter for 30 to 60 minutes.
- Follow the dough-shaping instructions for making a boule (p. 49) or a batard (p. 46). Place the shaped dough into a linen-lined bowl or banneton of your choice and let it rest for 30 minutes. Cover the dough with a bowl cover and place it in the refrigerator overnight. (Note: The dough can safely remain in the refrigerator for up to 72 hours—however, beyond this point, the dough can become overproofed.)
Score and bake the bread (10–20 minutes active, 1 hour freezer [optional], 50 minutes bake)
- When you are ready to bake, place your covered banneton in the freezer for 1 hour if you plan to do a decorative score. Place a bread cloche in the oven and preheat it to 490°F (255°C). If you do not plan to do a decorative score, simply preheat your oven with the cast-iron cloche inside.
- Turn out the dough onto a piece of parchment paper or a dough sling and complete your decorative score. Place the dough in the cloche, covered, for 7 minutes, and drop the temperature to 450°F (232°C), then remove the dough from the oven and complete your expansion score (p. 219). If you have done a decorative score, do not inoculate the cloche with steam. Adding water or ice into the cloche will result in the design being steamed off. If you have not done a decorative score, you may inoculate with steam by adding 2 to 3 ice cubes to the cloche.
- Place the dough back in the oven for 20 to 25 minutes, covered. Then remove the cover and bake for an additional 10 to 15 minutes. The bread should sound hollow when knocked on the bottom or have an internal temperature of 195°F (91°C). If the loaf does not sound hollow, place it back in the oven for 10 minutes.
- Remove the loaf from the oven and place it on a cooling rack for 1 hour before slicing. Store the bread at room temperature in a resealable bag for 3 days or freeze for up to 2 months in an airtight container or freezer bag.
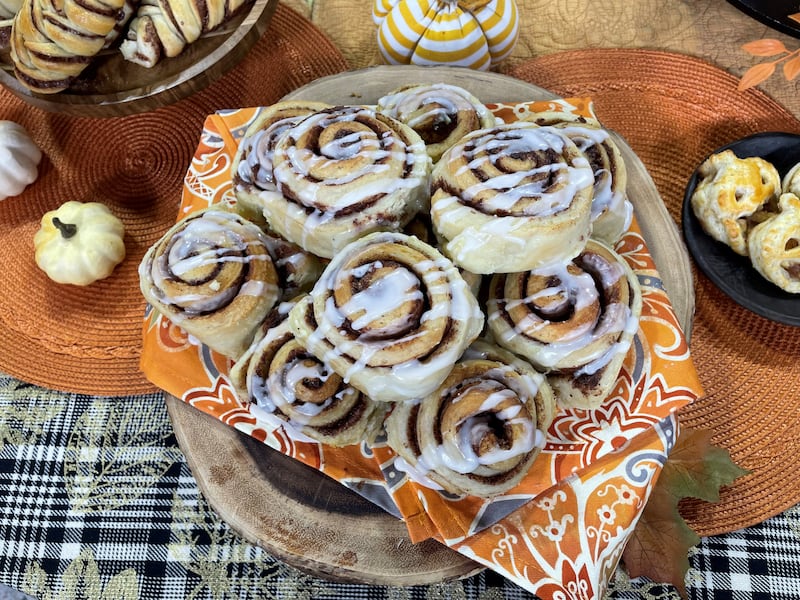
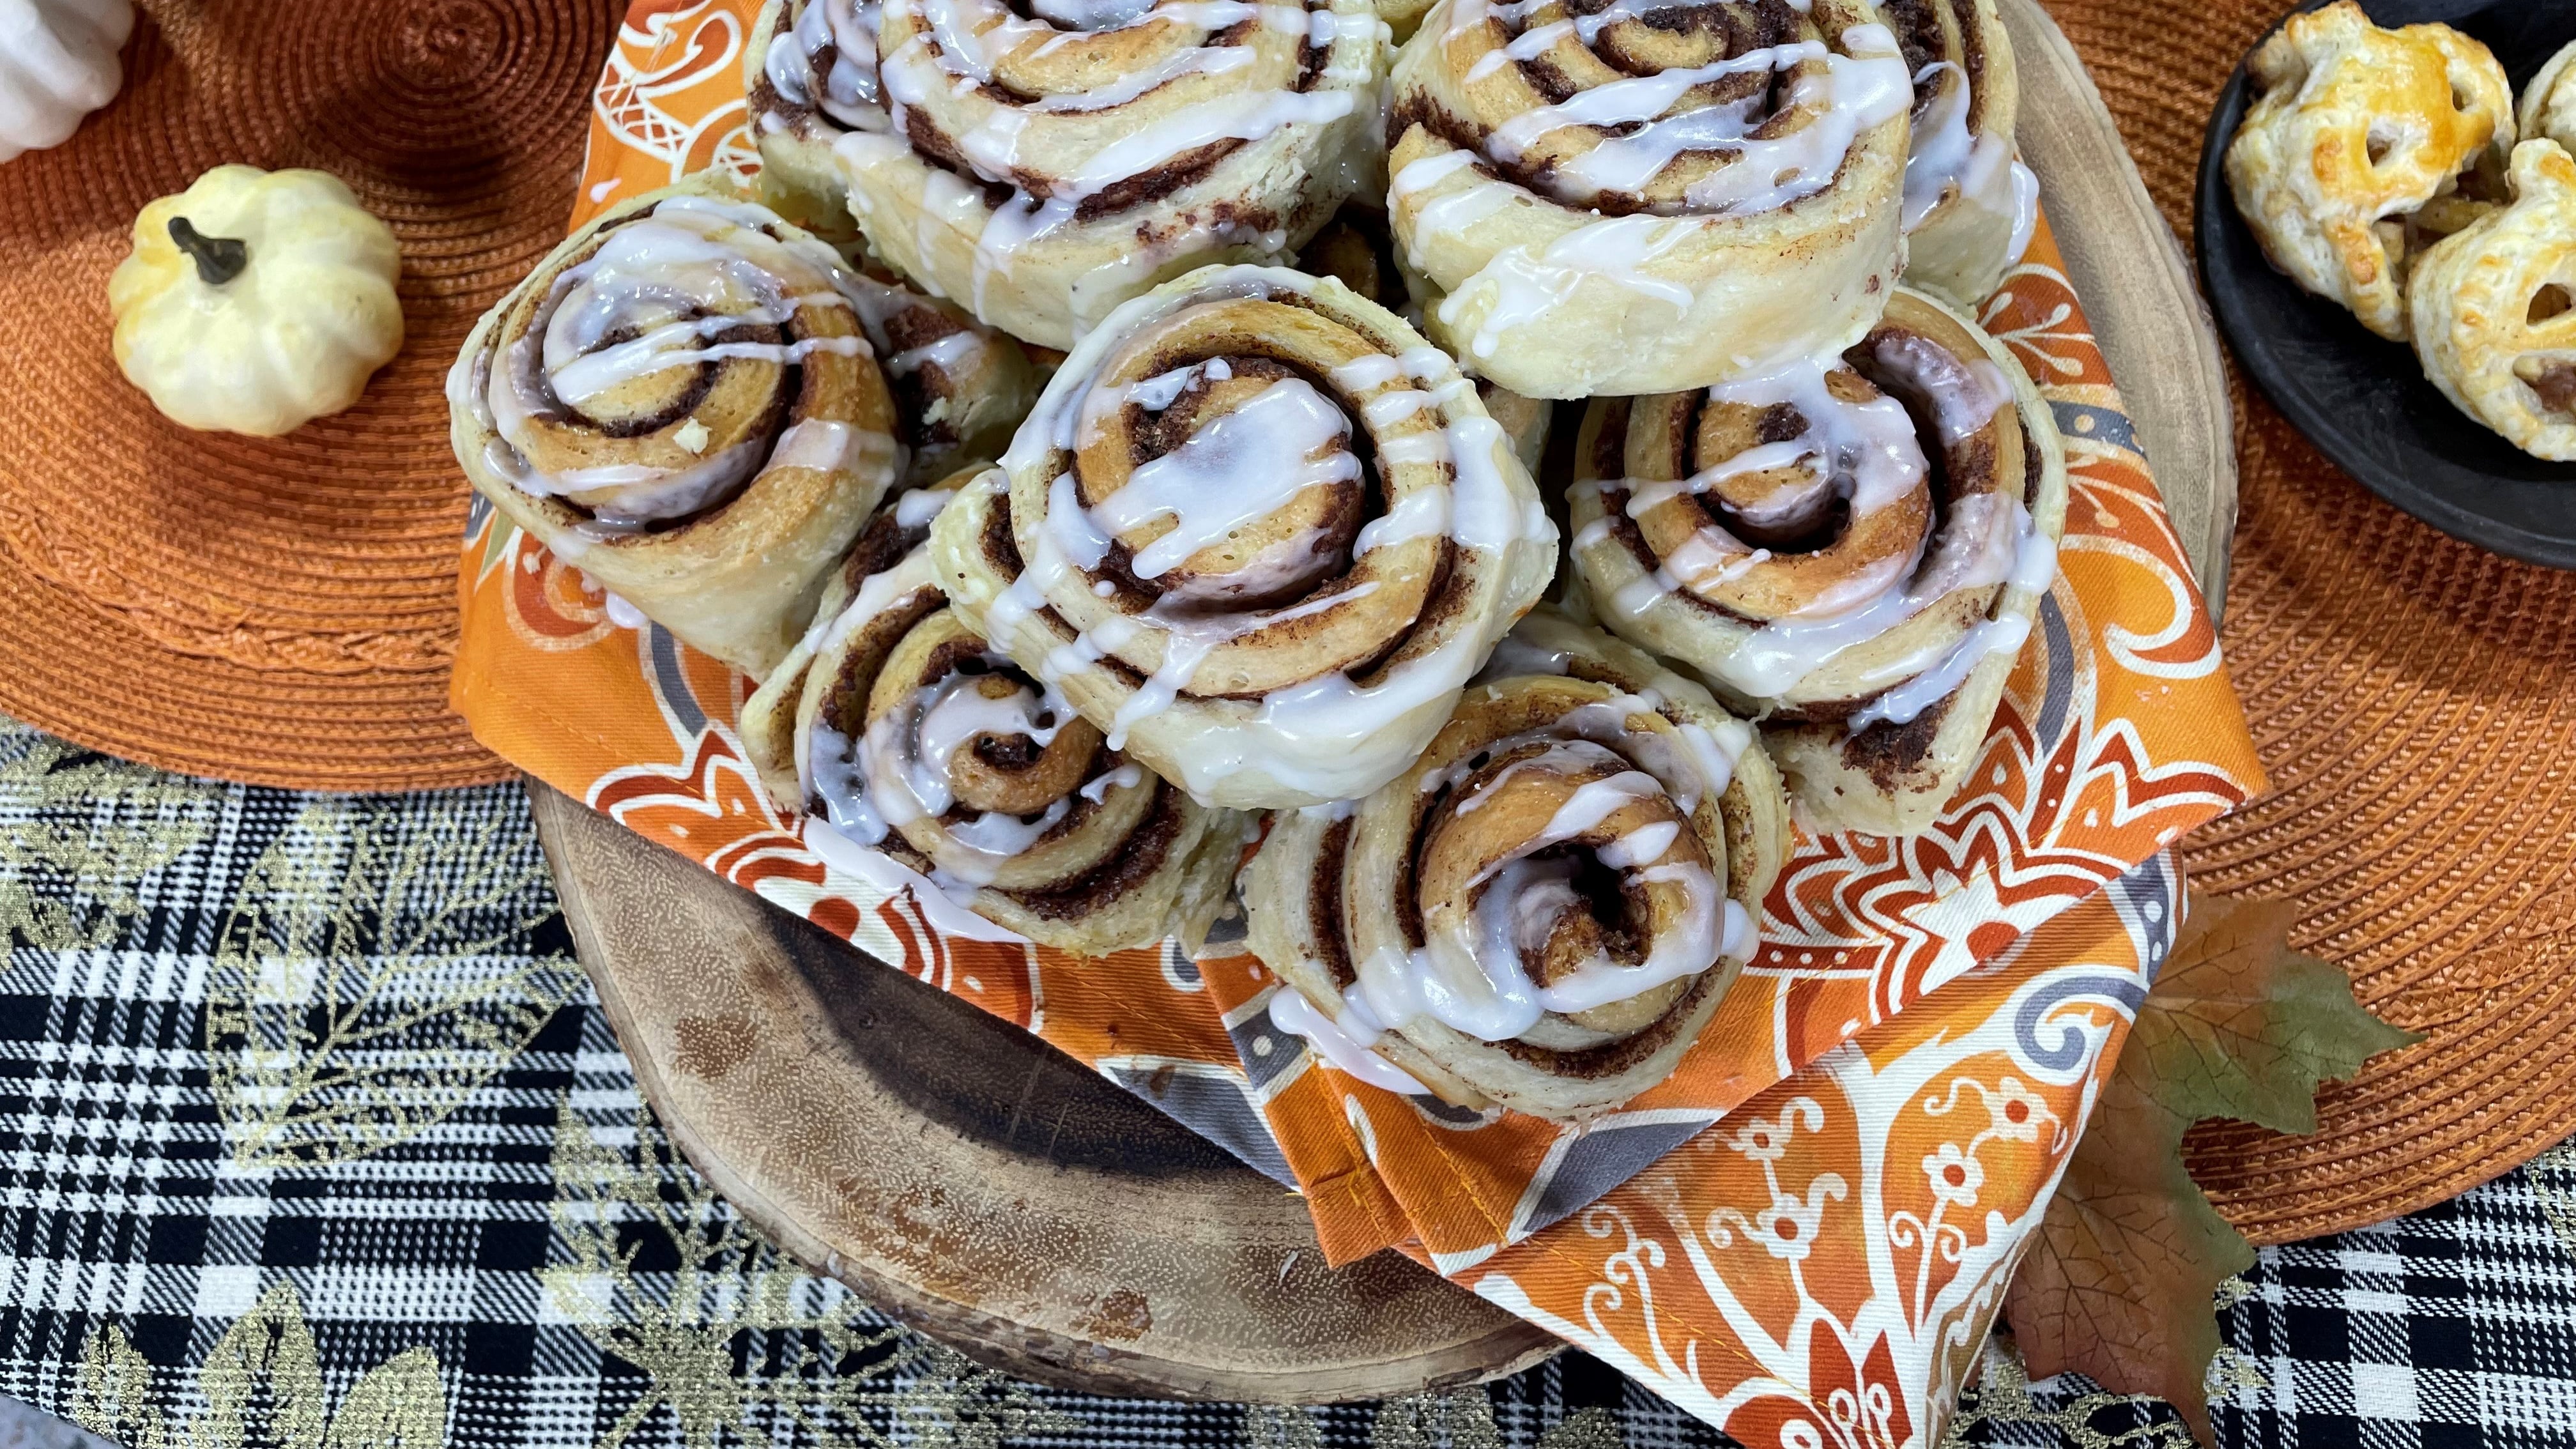
Fluffy Overnight Cinnamon Buns
These pillowy buns are a decadent treat and are swirled with delicious cinnamon goodness. Made with a tangzhong and a sweet stiff starter, their soft crumb is unmatched. Topped with heavy whipping cream right before baking, these slow-fermented cinnamon buns become a gooey, finger-licking treat you will want to make again and again.
Ingredients
Sweet stiff starter
- 50g unfed 100%-hydration sourdough starter
- 66g tap water
- 120g all-purpose flour 20g granulated sugar
Tangzhong
- 120g any type of milk (I use 2%)
- 23g all-purpose flour
Dough
- 130g tap water
- All of the sweet, stiff starter
- All of the tangzhong
- 50g granulated sugar
- 50g neutral oil (I useavocado oil)
- 5g sea salt
- 400g white bread flour
Cinnamon sugar filling
- 125g granulated sugar
- 25g ground cinnamon
- 75g unsalted butter, softened and divided
Topping
- 120g heavy whipping cream
Icing
- 120g confectioner’s sugar
- 15g any type of milk (I use 2%)
- 4g vanilla extract
- Pinch of salt
Special Equipment
- Stand mixer fitted with a dough hook (optional)
- One 9 x 13-inch (23 x 33cm) baking pan
Directions
Prepare the sweet stiff starter (5 minutes active, 12 hours rise)
- Prepare the sweet stiff starter in the morning by mixing all starter ingredients together in a 1-liter (34fl oz) container. Cover the starter with plastic wrap and let it rise until at peak or has just started to fall (at least 12 hours)
Make the tangzhong and the dough (40 minutes active, overnight bulk proof at room temperature)
- In the evening of the same day, make the tangzhong by whisking the milk and flour in a small saucepan. Cook over medium heat, stirring constantly, until thickened to a pudding-like consistency. Remove from the heat and let cool to room temperature.
- Make the dough that night by combining all dough ingredients in the bowl of a stand mixer or a medium bowl. Knead on low for 20 minutes or for 30 minutes by hand until the dough is soft and elastic. Cover and let proof at room temperature overnight.
Shape the buns and proof (15-20 minutes active, 2-8 hours final proof at room temperature)
- The next morning, mix together the ingredients for the cinnamon-sugar filling to form a paste.
- Gently deflate the dough. Roll it out on a floured surface and into a 15x18-inch (38x46cm) rectangle.
- Spread the filling onto the entire surface of the dough and roll it up (not too tightly) from the long side.
- Lightly mark the dough at 1.5-inch (4cm) intervals to make twelve rolls.
- Cut the dough at the demarcations with a serrated knife or sewing thread.
- Prepare the baking pan by greasing it with butter or cooking spray. Place the cinnamon buns into the pan. Cover with plastic wrap or a damp towel and allow the dough to proof until it has doubled in volume, is puffy, and a finger-poke test produces a slow return of the dough. (This may take 2 to 8 hours depending on the ambient room temperature.)
Bake and store the buns (45 minutes)
- Preheat the oven to 325°F (165°C).
- Pour the heavy whipping cream evenly over the buns.
- Bake for 45 minutes or until deeply golden and the internal temperature reaches 195°F (91°C). If they brown too quickly, loosely tent with foil halfway through baking.
- Let the buns cool on a wire rack in the pan for 15 to 20 minutes.
- While the buns are cooling, whisk together the confectioners’ sugar, milk, vanilla, and salt in a small bowl until smooth and pourable. Drizzle the icing over the still-warm buns.
- These are best served the day of baking, but can be kept in an airtight container at room temperature for up to 3 days or frozen in a freezer bag for up to 2 months.

Flaky Apple Turnovers
If you’re more of a traditionalist and prefer your turnovers filled with apples instead of berries, this recipe is the one for you. These sourdough-discard turnovers wrap flaky pastry around a sweet-tart apple filling that’s spiced with cinnamon, ginger, and a touch of nutmeg. Whether you enjoy them warm with the vanilla glaze or plain off the tray, these turnovers are comforting, warm, and will be enjoyed by all.
Ingredients
Dough
- 250g all-purpose flour
- 25g granulated sugar
- 4g sea salt
- 250g cold, unsalted butter, cut into 1-inch (2.5cm) cubes
- 75g tap water
- 75g 100%-hydration sourdough starter (active or discard)
- 2g apple cider vinegar
Filling
- 400g peeled, cored, and diced apples (about 3 medium apples; I like Honeycrisp or Granny Smith)
- 70g granulated sugar
- Juice of half a lemon
- 2g ground cinnamon
- 1g ground nutmeg
- Pinch of cloves (optional)
- 10g cornstarch
- 3g sea salt
- 2g vanilla extract
- 1 medium egg (for egg wash)
Royal Icing Glaze
- 60g confectioners’ sugar
- 20g any type of milk (I use 2%)
- 2g vanilla extra
- Pinch of salt
Special Equipment
- Pastry cutter (optional)
- ¾-inch (2cm) small circle cutter or a heart-shaped cookie cutter (optional)
Directions
Make the dough (30 minutes active, 2 hours refrigerator)
- In a medium bowl, whisk together the flour, sugar, and salt. Add the butter cubes and toss to coat. Use a pastry cutter or two butter knives to cut the butter into the flour until only pea-sized pieces remain. Use your fingers to flatten any large chunks of butter.
- In a small bowl, stir together the water, starter, and apple cider vinegar. One spoonful at a time, add the liquid to the flour mixture while mixing by hand just until a shaggy dough forms. (Avoid overmixing!)
- On a floured surface, roll the dough out into a 10x20-inch (25x51cm) rectangle. Fold it into thirds, like a letter. Roll it out again to the same size and then fold it into thirds once more. Wrap the dough in plastic wrap and refrigerate it for 30 minutes.
- Repeat the folding process two more times with a 30-minute rest in the refrigerator after each fold.
- Wrap the dough in plastic wrap and place it in the refrigerator while making the filling.
Make the filling (15 minutes active, 40 minutes refrigerator)
- In a medium saucepan, combine the apples, sugar, lemon juice, cinnamon, ginger, nutmeg, cloves (if using), cornstarch, and salt. Cook over medium heat, stirring occasionally, until the apples have softened slightly and the mixture has thickened, about 8 to 10 minutes. You want the apples tender but not mushy.
- Remove from heat and stir in the vanilla.
- Place the filling in the refrigerator to cool.
Assemble and bake the turnovers (30 minutes)
- Preheat the oven to 400°F (205°C). Prepare a baking sheet by lining it with parchment paper.
- Use a rolling pin to roll the chilled dough out into a 5x20-inch (13x51cm) rectangle and then use a sharp knife to trim the edges for uniformity. Cut the rectangle into twelve smaller, equal-size squares that are each about 5 inches (13cm).
- Using a small circle cutter or a heart-shaped cookie cutter, cut out the dough in the middle of the upper half of each square. (Alternatively, you can use a knife to cut slits on the upper half of each square, leaving a 1/2-inch [1.25cm] border of uncut dough). Place 2 tablespoons of the apple filling on the lower half, then fold the top half over diagonally to cover the filling. Brush the edges with the egg wash, press them together with your fingers, them crimp them with a fork.
- Place the turnovers on the baking sheet. Brush them with the remaining egg wash.
- Bake in the preheated over for 18-22 minutes or until golden brown. Let them cool slightly before glazing.
Make the glaze and store the turnovers (5 minutes)
- In a small bowl, combine the confectioners’ sugar, milk, vanilla, and salt. Mix until smooth.
- Drizzle or spread the glaze over the warm turnovers. Serve warm and enjoy!
- Store any unglazed turnovers in an airtight container in the fridge for up to 2 days or freeze in an airtight container for up to 2 months. Reheat in an oven preheated to 335°F (170°C) for 10 minutes.